Measurement of the root height layer/ tact weld imperfection
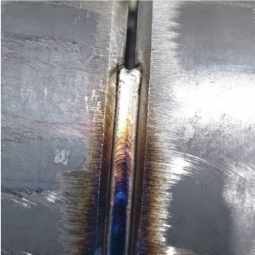
Root height layer/tact weld imperfection - the amount of penetration of the base metal when welding the root layer of a multi-pass seam.


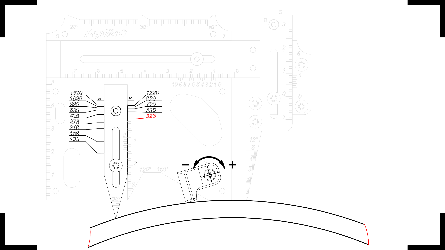
positioning the welding gauge
- Set the welding gauge at the zero position.
- Pull the fillet arm 2 out of the main gauge plate 1, matching the mark with a value corresponding to the diameter of the pipe being monitored.
- Fix and lock the stop position by tightening the fillet arm rivet 6. Position the welding gauge on the test object.
- After rearranging the pivots in the groove located on the right side of the welding gauge, adjust them until they come into contact with the inspected object.
- Lock the pivots in this position as shown by the illustration

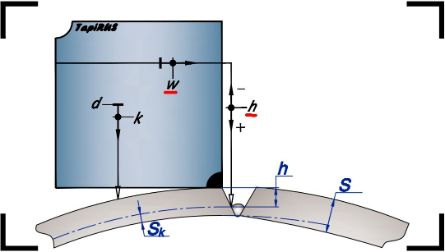
˟ красным цветом выделен параметр, подлежащий измерению
measurement taking
- Adjust the linear member 3 so that the taper gauge 5 is above the point of measurement.
- Lower the top High-Lo arm 4 until the taper gauge 5 makes contact with the surface of the inspected object at the point of measurement.
- Take the value of the parameter w from the horizontal scale W, and subsequently for the parameter h – take the readings from on the vertical scale H.
- To obtain the desired parameter sk : - use a calculator to calculate the value of h ' - measure the difference between the values of the nominal thickness s and h '

 — Бесплатные Сайты и CRM.